Apologies for any translation errors.
Planning & Construction

Note: This article is probably only of interest to people with multiple chemical sensitivities (MCS).
This post describes the planning and construction of my MCS-tolerable tiny house on wheels. Grab a coffee or tea, as this may take a while 🙂
Due to my chemical sensitivities I had to test all (literally all!) of the materials used for tolerance beforehand, you can find the results here. It was almost always a balancing act between tolerability on one side and practicality, cost, thermal insulation, mold protection and statics on the other. The silver fir used in the interior has very low natural VOC emissions.
Without my chemical sensitivities, other structures would be possible and reasonable. Therefore, this article is meant to assist in the evaluation and is not necessarily a template. Future posts will cover topics such as bathroom, kitchen, heating, water, and electricity.
Room planning
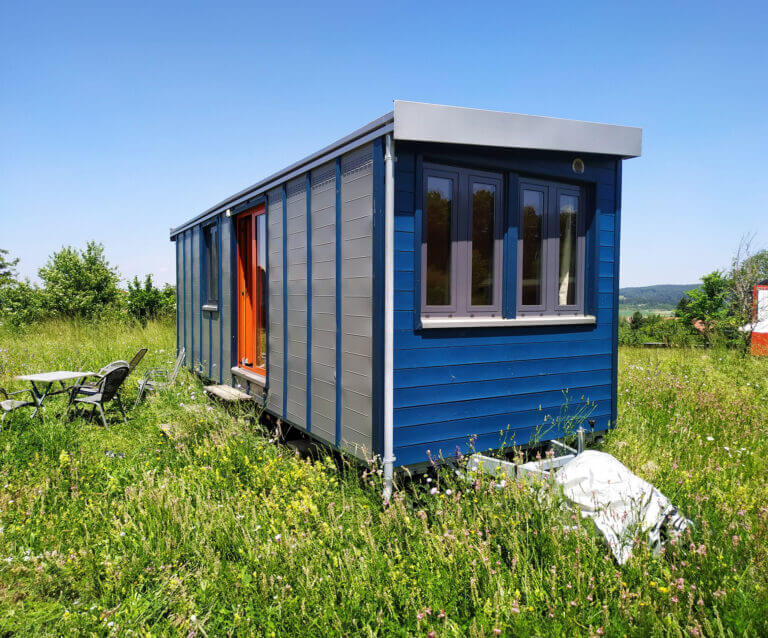
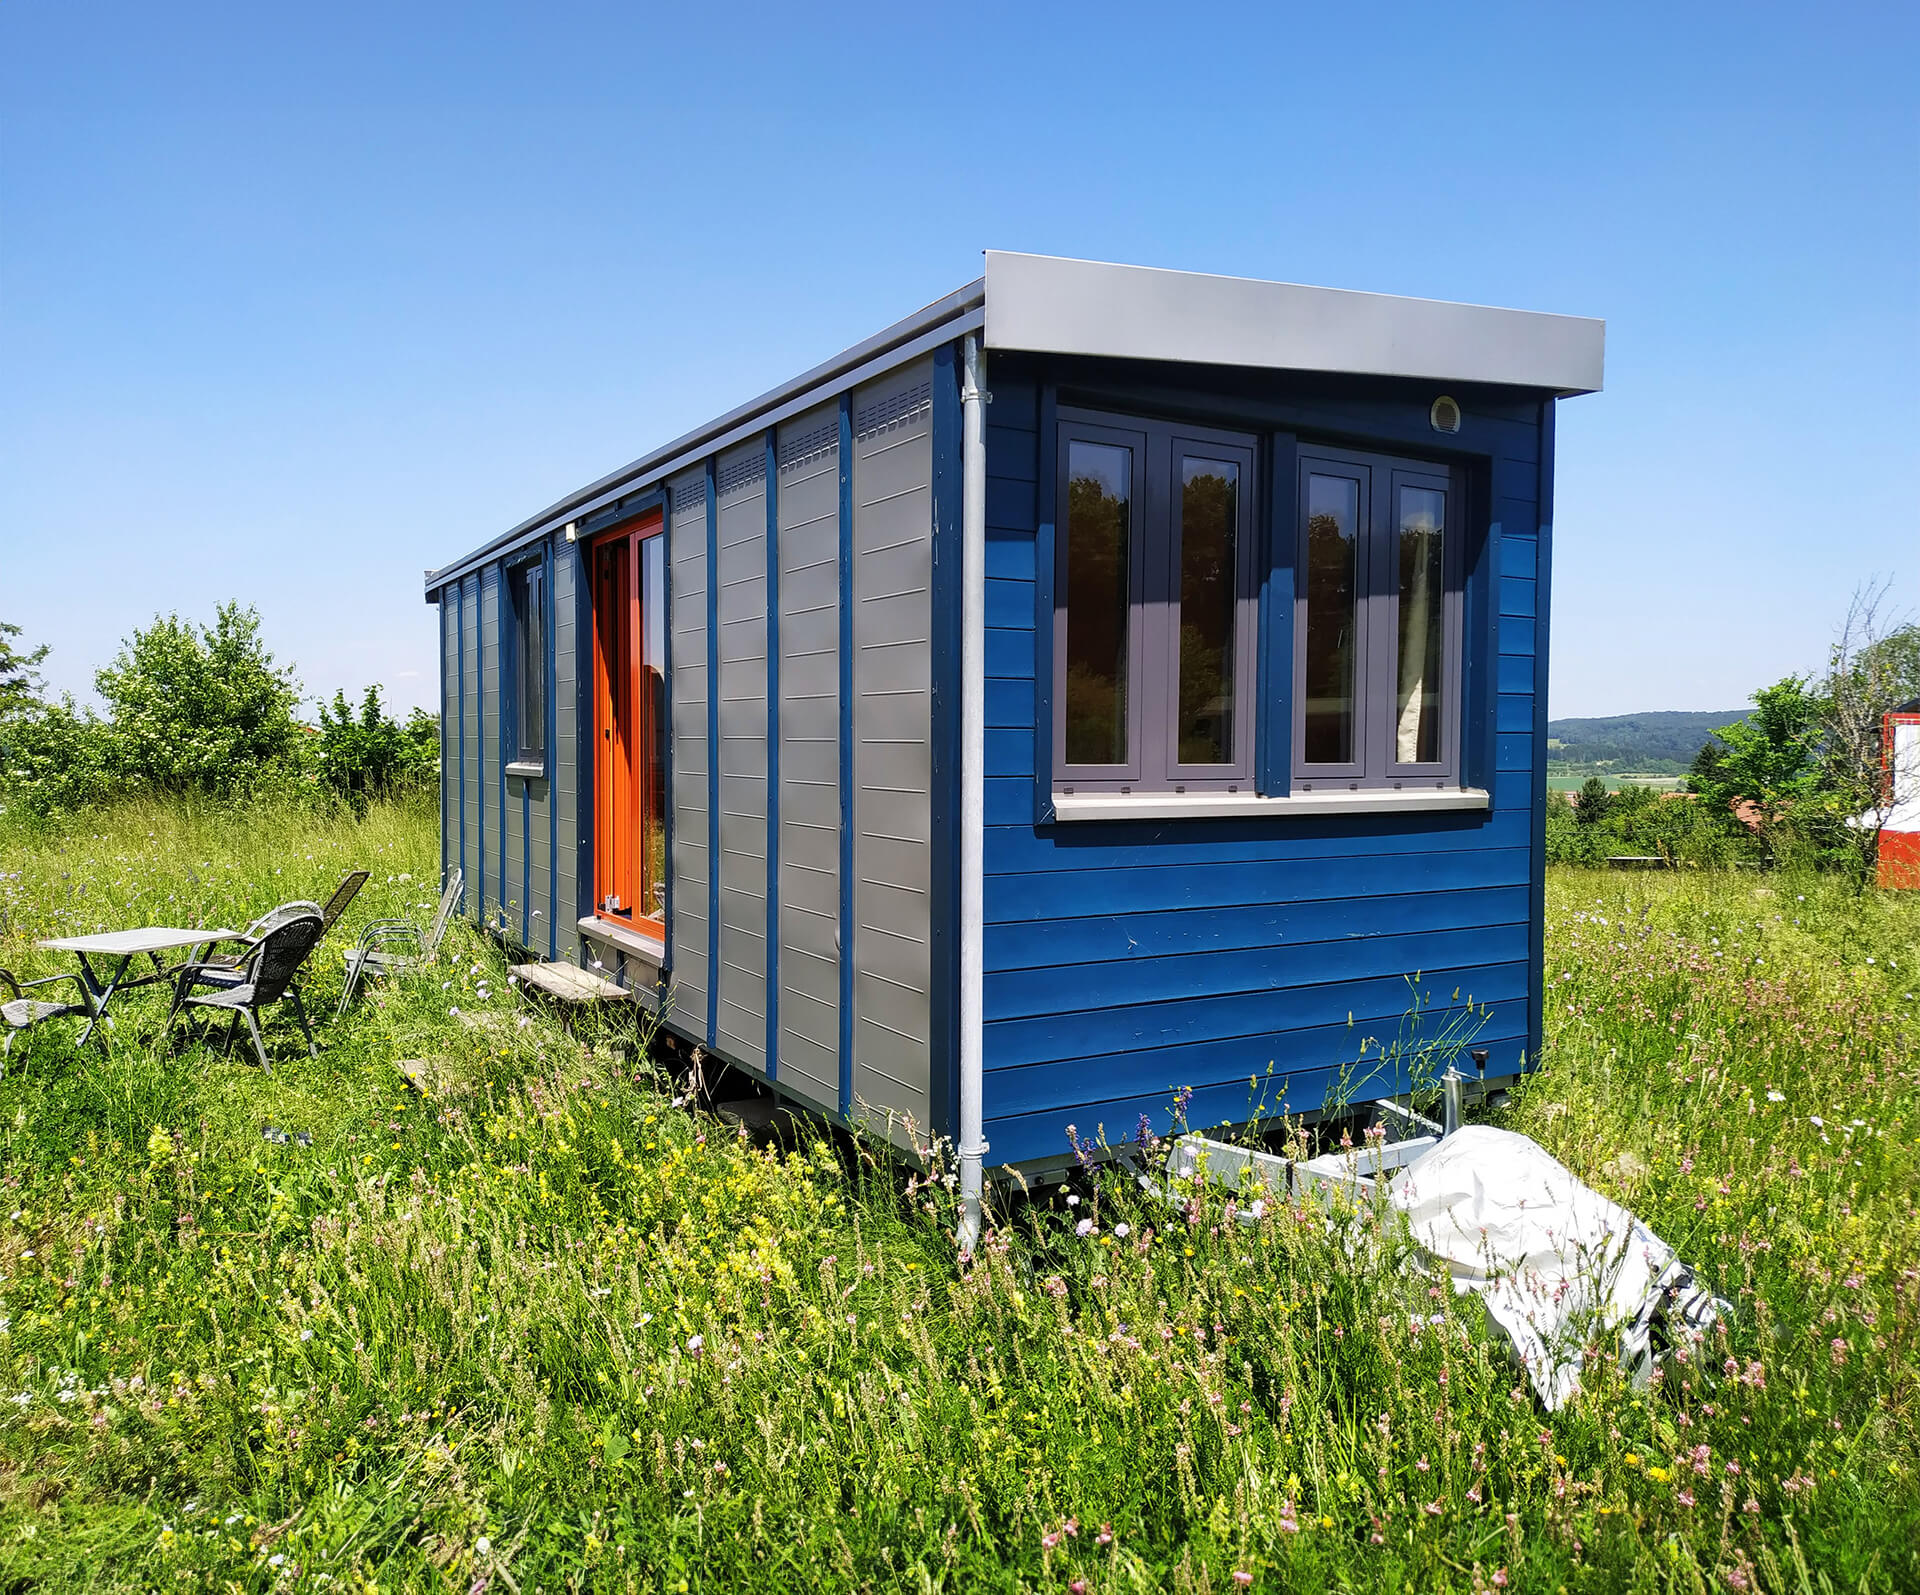
In the photos, it may appear much smaller than it actually is.The external dimensions are 7.20 m x 2.55 m.
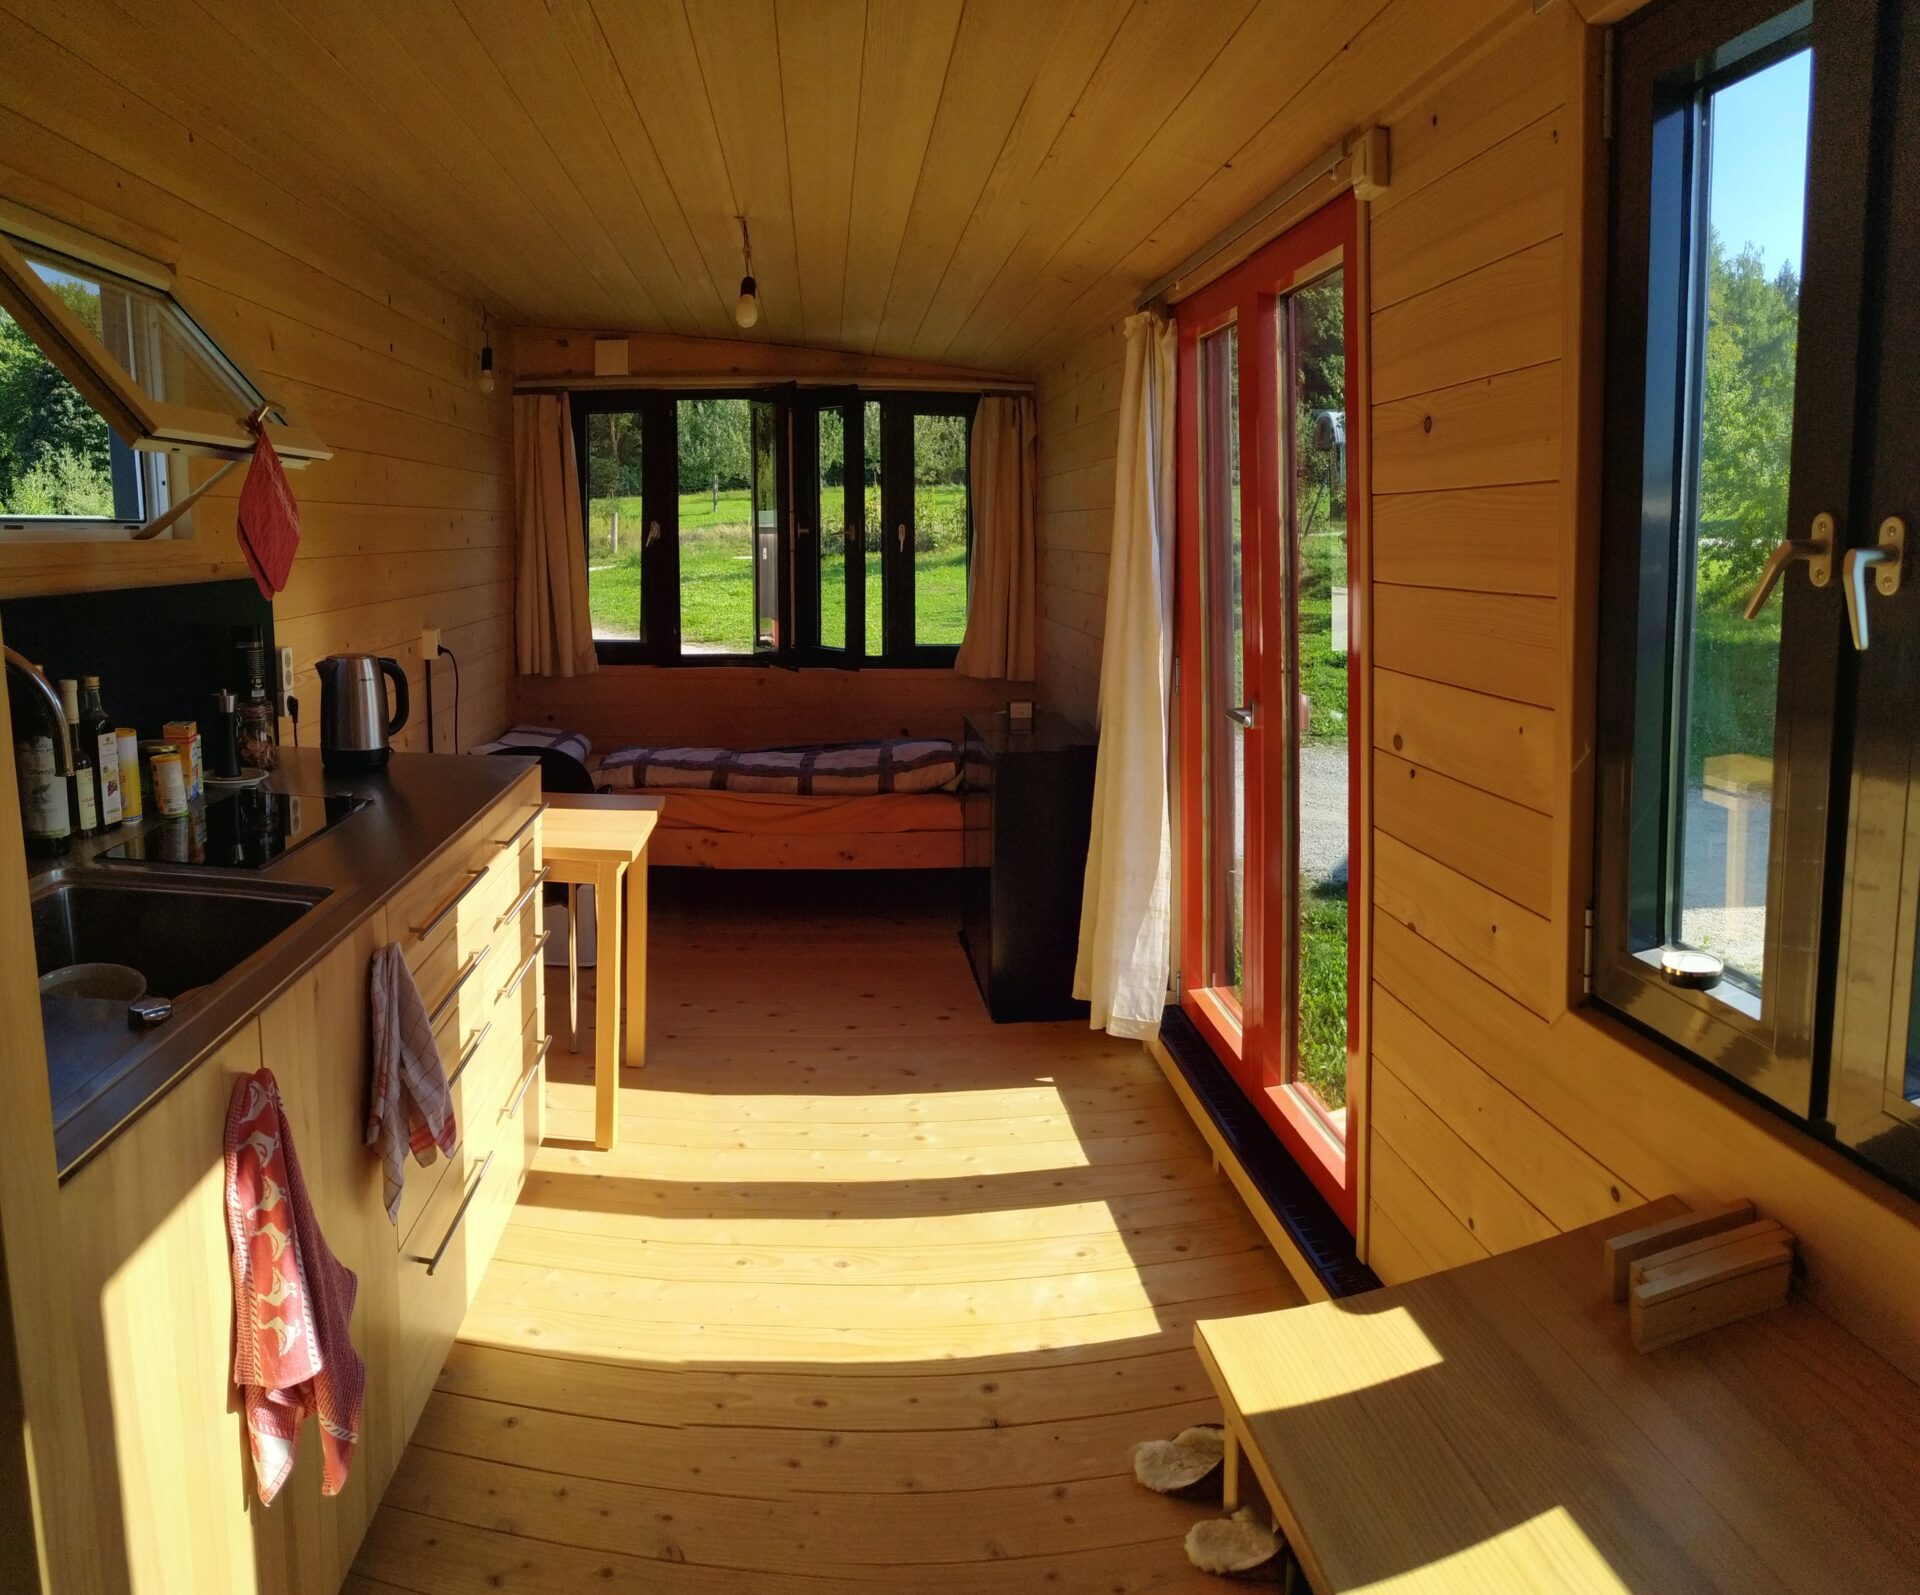
There are three rooms in the approximately 15 m² space: the main room contains the kitchen, table & chairs, desk, and bed; the bathroom has a shower and a dry separation toilet, and the entrance area houses all things that I react to (heating, shoes, office stuff, tools, refrigerator, etc.). The ceiling height ranges from 2.15 to 2.30 m.
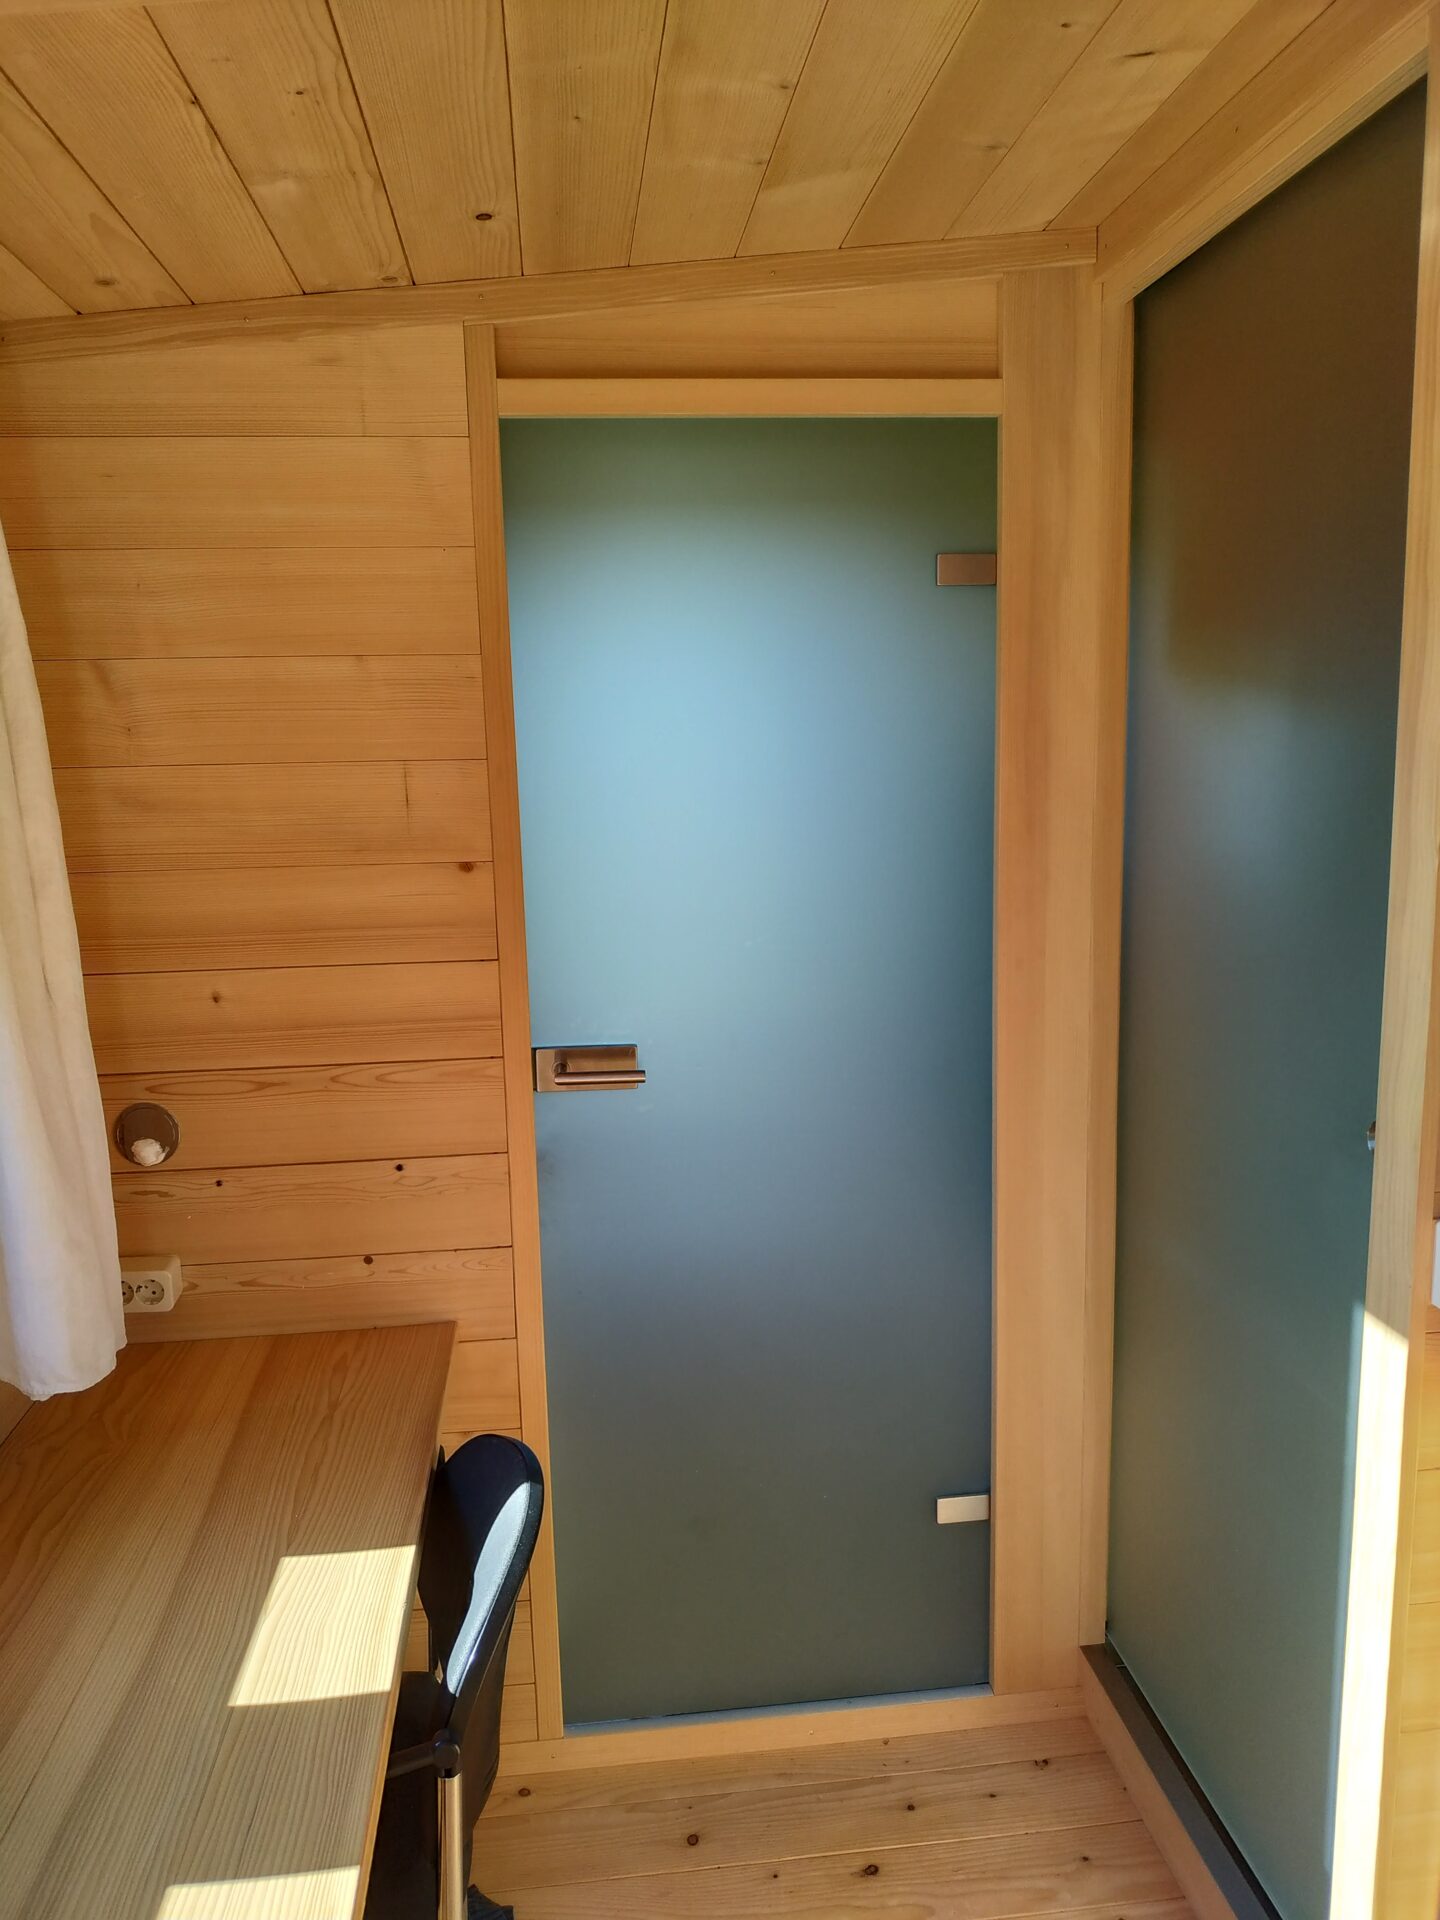
The house is very bright with windows on all sides. The main room is only visible from two sides due to matte glass doors, which is important for my comfort. Only the kitchen and desk are fixed installations to remain flexible in space usage.
Floor structure
Sketch

From the inside out:
- 18 mm silver fir tongue & groove boards
- Climate membrane: pro clima “Intello”
- 12 cm insulation: sheep’s wool, stud frame: Spruce
- Spruce 3-layer, formaldehyde-free glued, glazed
Key figures

According to ubakus.de calculations, this construction has a – considered non-critical – condensation of water in the floor.
A building physicist considered the setup to be completely unproblematic. To test the values, I placed a temperature/humidity data logger in the insulation from the outside through a prepared flap. Everything looks and feels dry and as good as new.
Trailer & base plate
The trailer (from Vlemmix, 7.20 m long) was ordered as a high-loader and is 13 cm higher than the standard model. This provides a flat loading area without the need for cutouts for the wheel arches. Achieving good insulation would have been much more difficult with a low-loader.
The base plate is a 3-layer spruce panel. It was not well-tolerated, but it is okay for outdoor use. The plate was glazed with a VOC-free varnish (proaqua by Volvox). A plywood plate was not an option due to intolerances.
To prevent direct contact between metal and wood, a thin EPDM strip was placed in between. The tiny house is attached to the trailer with U-clamps and wing nuts. These can be removed with standard tools, allowing the tiny house to be transported in compliance with German road traffic regulations (StVO).
Wall structure
Sketch

From the inside out:
- 18 mm silver fir tongue & groove boards
- Climate membrane: pro clima “Intello”
- 10 cm insulation: sheep’s wool; stud frame: solid structural timber made of spruce
- Underlayment: pro clima “Solitex Mento Plus”
- 3 cm rear ventilation with counter battens (1.5 cm each)
- Powder-coated aluminum panels on the long sides; 18 mm thick glazed spruce tongue & groove boards on the gable sides
Key figures

The wall thickness is approximately 15 cm with a weight of 18 kg/m².
With a U-value of approximately 0.37 W/m²K, the insulation is okay for tiny house standards but not excellent. The German Building Energy Act requires a maximum U-value (lower is better) for exterior walls of 0.24 W/m²K for new buildings as of 2020. I do not meet this requirement, but no thermal protection evidence is needed for my use.
Due to the small living space, the heating energy demand is still quite low. Without my chemical sensitivities, a much better insulation value would have been possible with the same thickness of the wall structure. The poor summer heat protection is conceptually due to the low weight. In summer, the interior is approximately as warm as the outside, with a slight delay.
Stud frame
The stud frame consists of solid structural timber made of spruce. Very small amounts of glue were used (Titebond original). spruce. Minimal amounts of glue were used (Titebond original). Since adhesives (except bone glue) and thus 3-layer panels are problematic for me in the interior, metallic diagonal braces were used for stiffening.
Cross beams were inserted at two points to attach wall cabinets later.
Alternatives
There are optimized timber studs (e.g. UPSI from Lignotrend) with lower weight and less heat loss. Due to the materials used and the cost, they were not an option.
I consciously decided against a metal framework. Without spray foam, it seems hardly possible to sufficiently limit thermal bridges and the risk of condensation.
Sandwich panels made of OSB or glass fiber reinforced plastic (GRP) were unfortunately also not an option due to the MCS. Metal sandwich panels would be possible in principle, but I am not aware of a construction that does not require thermal bridges (e.g., U-clamps on the base plate into which the wall panels are inserted).
Facade membrane
The facade membrane, like the climate membrane, comes from pro clima (Solitex Mento Plus). It protects the insulation from wind, water, and insects. Together with the three surrounding galvanized perforated strips, they also prevent bulging of the insulation. A very wide roll (3 m) was used, so no overlap was necessary. If this is not possible, the upper membrane should always overlap the lower one (constructive tightness).
Alternative
If tolerated, I would probably have used a rainproof underlay board (e.g. Gutex “Multiplex”) instead of a facade membrane.
Insulation
The tiny house is insulated with 10 cm thick sheep wool in the walls and 12 cm in the ceiling and floor. The wool comes from the manufacturer Isolena (variant “optimal”) and is not biocide-equipped. The manufacturer states that protein molecules in the wool are altered in their structure through a “plasma ion treatment,” making the wool no longer suitable as food for insects.
Initially, I was very skeptical. However, the wool is used by established manufacturers such as Wohnwagon and is recommended by EgGBI (“European Society for Healthy Building and Indoor Hygiene”). There is a positive test report, albeit with samples taken by the manufacturer. So far, my experience has been positive and no insects have settled in openly stored wool remnants.
The wool is stapled to the wooden studs. The 12 cm thick insulation in the floor is “divided” into two levels, with the 6 cm thick wooden beams running diagonally to each other. This further reduces heat flow.
Climate membrane
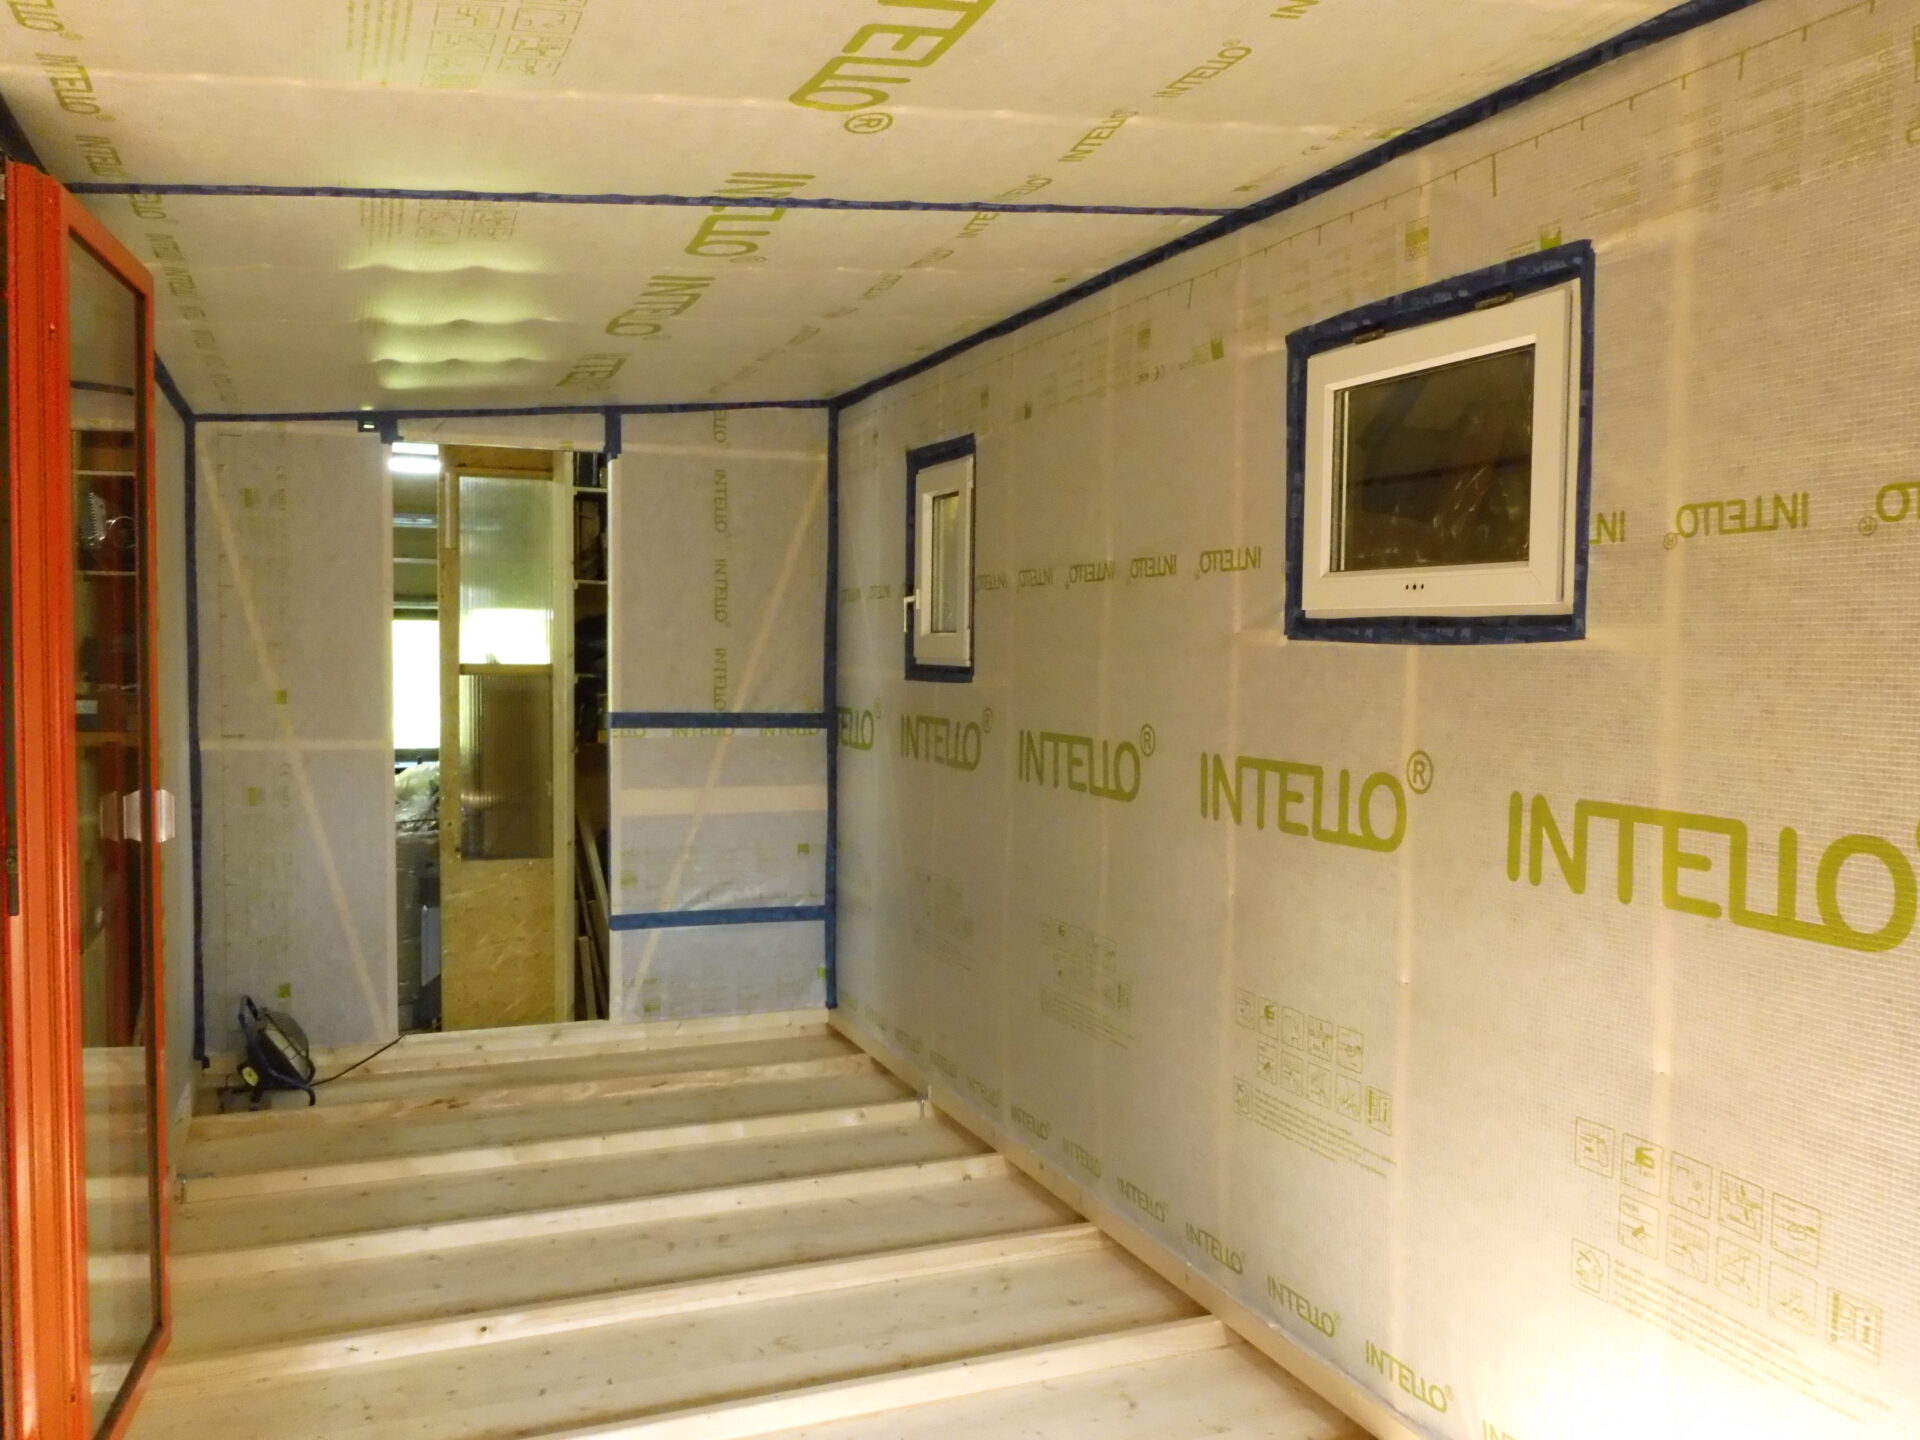
A climate membrane is installed (“Intello” from pro clima). In my application, this offers good protection against structural damage. Building without an airtight layer was not an option, the foil is the most tolerable choice for me.
Instead of using a nail sealing tape (intolerable), the staples were taped. By using a wide roll (3 m), comparatively little tape was required.
Alternative
Instead of the climate membrane, one could also have used an aluminum vapor barrier. A friend (building physicist) spoke out in favor of a vapor-permeable construction based on extensive experience in timber construction. Detailed information can be found in the articles on wall construction and vapour barrier,
Interior formwork
The interior paneling consists of 18 mm thick tongue-and-groove boards from White Fir. The boards have only a very slight bevel.
For weight reasons, we had briefly considered planing the boards down to 13 mm. However, this turned out to be unnecessary. The wood in the interior is untreated, except for the kitchen furniture and dry-separation toilet.
Alternatives
Layered panels instead of profiled boards would have been more stable and subtle in the interior, but were not an option for me due to the intolerances. Powder-coated aluminum sheets would have been the healthiest option, but aesthetically and acoustically not a pleasing choice. Profiled boards with a softline profile create a sauna look, which is a matter of taste. Treating the entire interior with wood was not an option.
Facade
The facade consists of powder-coated and profiled aluminum panels on the long sides, and glazed tongue-and-groove boards from spruce (delivered incorrectly as White Fir) on the gable sides. The ventilation is 3 cm thick, and the battens are arranged diagonally (1.5 cm each). Due to the diagonal arrangement, no ventilation slots above/below the window are necessary. All openings to the ventilation layer are protected with a fine mesh to prevent insects or mice from entering.
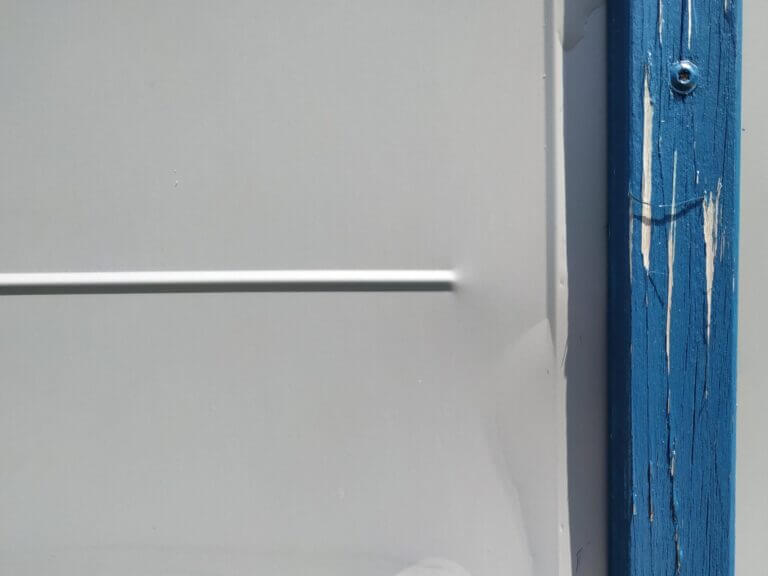
The decision for aluminum sheets was based on their lower weight and durability without maintenance. The sheets were custom-made. The embossing with grooves and the folding increase stability, and the stamped gills allow ventilation. The manufacturing process was very complex.
There is a gap between the sheets covered with stipes, as aluminum expands/contracts significantly with temperature changes. Despite this, there is still some cracking in the summer.
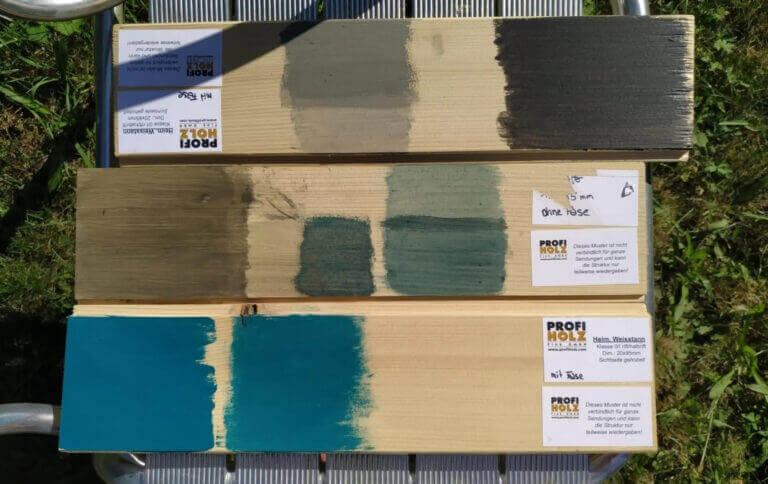
On the gable sides, the effort for customizing the aluminum panels would have been too great, so tongue-and-groove boards from wood were used. The VOC-free varnish and pigments come from Volvox (ProAqua). The durability is poor outdoors, and it needs to be recoated every year.
Alternative
Woods like Douglas fir or larch would not need treatment and are much more durable than the spruce used. However, they have higher VOC emissions. In hindsight, I might have used profiled aluminum profiles instead of wood.
I find Thermo Cork as a facade material very interesting – if tolerated – due to the additional thermal insulation (and also sound insulation).
Roof
Sketch

From the inside to the outside:
- 18 mm silver fir tongue & groove boards
- Climate membrane: pro clima “Intello”
- 12 cm insulation: sheep’s wool, stud frame: solid structural timber made of spruce
- Underlay membrane: pro clima “Solitex Mento Plus”
- 4 cm ventilation with counter battens (2 cm each)
- Spruce 3-layer, formaldehyde-free glued, glazed
- Aluminum standing seam, blank
Key figures

Roof
It is a mono-pitched roof with aluminum standing seam covering. In preparation for retrofitting photovoltaics/solar thermal, twice as many fastening points (clamps) were used as prescribed. The ventilation layer is open on all sides.
I omitted roof windows due to the risk of moisture damage. The gutter is integrated. To protect the facade, there is an overhang on the long sides. The chimney is additionally glued with an EPDM cuff for safety.
All connections are either folded, soldered or screwed, only the collar on the chimney was glued. I didn’t use a sarking membrane because of my chemical sensitivities (I would do it differently today), a sealing tape was used in the rebate for the standing seam roofing, but no seals at the edge.
I have no knowledge of correct roof connections, etc., and probably would not have noticed mistakes. I was fortunate to have very competent and careful craftsmen. Many thanks, Martin and Stefan!
Alternatives
In roofs made of corrugated or trapezoidal sheet metal, the screws (seals) are usually exposed to the weather. So, the roof is not maintenance-free; the seals must be replaced after some time. Standing seam covering, on the other hand, is maintenance-free, much more durable, and also significantly more expensive.
For other roof shapes, good ventilation is much more difficult to achieve.
Windows
Three used aluminum windows, two used plastic windows, and one new aluminum balcony door are installed. The panes are double-glazed, and some windows are not yet metal-coated (can be tested by reflection, you can google the instructions). About twice as much heat is lost compared to current coated and gas-filled panes. In the long run, I might replace the old panes.
For the aluminum windows and the balcony door, the thick EPDM seal between the window frame and sash was removed. Due to the lack of a central seal, they are less tight, but this is not a problem.
For the balcony door, the internal EPDM seal between glass and sash was additionally replaced with a wooden strip. The aluminum profile of the door is relatively narrow at 65 mm. The color was a mistake (too bright), but I am now quite happy with the decision.
Due to MCS, a traditional extractor hood could not be installed. Therefore, the window above the stove was installed to open downward (180° rotated). New slots were milled in the frame for water drainage. I am less sensitive now and would probably install a regular extractor hood.
According to the German Road Traffic Regulations, the panes must be made of toughened safety glass (ESG). Mine are just normal glass, so they would need to be covered with a sheet of metal or wood for transportation.
The cavity between the window and the wall was not foamed but stuffed with sheep wool. No joint tape was used. The windowsills were individually bent from stainless steel.
Alternatives
Normal wooden windows are unfortunately not tolerable for me due to adhesives and necessary wood treatment.
Outward-opening windows are usually significantly more expensive. For Danish (wooden) windows, outward opening is standard.
Old aluminum windows without thermal decoupling (center part made of plastic) get very cold in winter and are not an option.
When ordering from Poland, aluminum windows cost only half (as of 2019). There were many positive and negative experiences with ordering windows abroad in forums during that time. My impression was: It usually works well, but if something goes wrong, it can turn into an odyssey. In the end, I chose a local company due to specific requirements (no adhesives, etc.) and time constraints.
Door
The entrance door was individually crafted from wood. There is only a handle on the outside. The lock cylinder allows for a key to be inserted on both sides.
Wall penetrations
Most passages (ventilation, chimney, wastewater) go through massive wooden blocks integrated into the wall. Of course, everything is tightly (and carefully!) taped to the vapor barrier and the underlay membrane. The wall penetrations have a slight slope outward, so that in the worst case, any water that enters drains outward. There is a shaft in the floor in the vestibule for utility lines (electricity, water, gas). The roof is only pierced at a single point for the chimney.
Structurally tight constructions (meaning permanently tight without aids like silicone) are excellent because they are often low-maintenance and durable. In hindsight, I would have liked to pay more attention to this point.
You can find a list of common weak points and thermal bridges in the mold prevention checklist.
Weight
The tiny house weighs approx. 3.2 tons, including trailer, kitchen, bathroom and heating. This leaves about 300 kg until the permissible total weight of a maximum of 3.5 tons. This provides enough room for additional installations or self-sufficiency systems.

